
Buying Guide: Best Sewing Supply Organizers
Many sewers struggle with scattered needles, threads, and notions taking over their workspace, making it hard to find what they need mid-project. A good organizer can streamline your setup, but choosing one that fits your routine prevents frustration and wasted time.
Capacity and Size
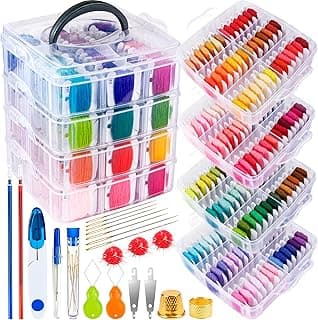
Capacity determines how much you can store without constant refilling, while size affects where it fits in your space. For hobbyists with smaller collections, a compact unit with 20-50 compartments often suffices, keeping everything accessible on a desk.
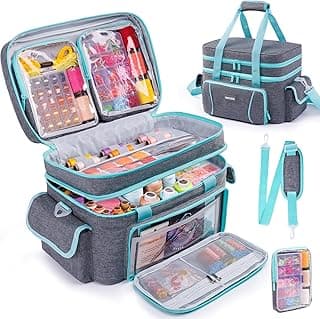
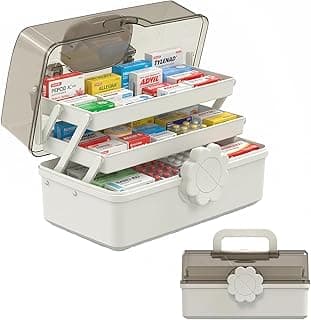
If you handle larger projects or multiple fabrics, opt for models with expandable sections or multiple tiers. Avoid oversized options if your area is limited—they can clutter rather than organize.
Material Durability
Durable materials withstand daily handling and resist wear from pins or scissors. Fabric-lined compartments protect delicate items like beads, while sturdy plastic or acrylic holds shape over time.
- Choose water-resistant materials if you sew near sinks or in humid spaces.
- Steer clear of thin, flimsy plastics that crack easily during travel.
In most cases, reinforced edges and secure closures extend usability for years.
Portability Features
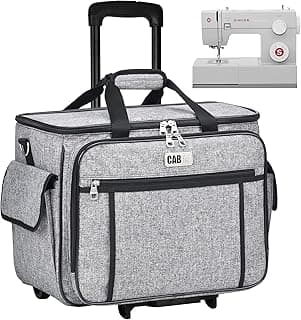
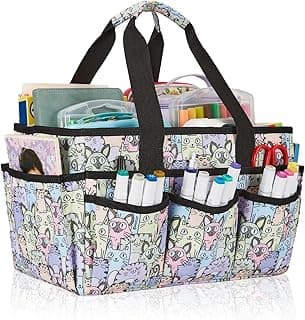
If you sew on the go or move between rooms, lightweight designs with handles make transport easy. Foldable or wheeled options suit classes or retreats.
For stationary home setups, prioritize stability over mobility. Test weight if carrying frequently—aim for under 5 pounds when fully loaded to avoid strain.
Compartment Customization
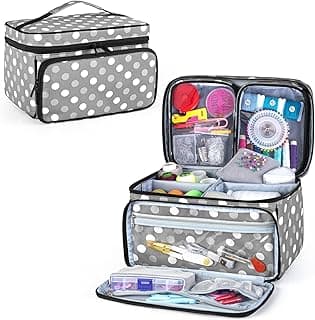
Adjustable dividers let you tailor storage to odd-shaped bobbins or buttons, reducing spillover. Fixed layouts work for standard supplies but limit flexibility.
- If your collection varies, then choose removable inserts for reconfiguration.
- Skip non-customizable units if you frequently add new tools.
This feature shines for users with evolving kits, keeping items sorted intuitively.
Visibility and Access
Clear lids or open-top designs allow quick spotting of supplies, saving time during stitching. Opaque covers protect from dust but may require labels.
For busy workflows, prioritize see-through panels. If stacking multiple organizers, ensure top-access drawers to avoid unpacking everything.
Cost and Long-Term Value
Organizers range from $10 for basics to $50+ for feature-rich ones. Factor in how often you'll use it—cheaper models suit casual sewers, while invested pieces pay off for frequent creators.
Avoid the lowest-priced options if they lack durability; they often need replacing sooner. Generally, mid-range picks balance features and longevity without high upfront costs.
Frequently Asked Questions About Sewing Supply Organizers
What are the best sewing supply organizers for small budgets?
If you're watching your spending, look for organizers under $20 that use stackable drawers or wall-mounted pockets, as they offer great value without skimping on capacity. These options keep needles, threads, and bobbins sorted efficiently, often lasting years with basic care. In most cases, fabric-based or plastic modular systems prove most cost-effective for beginners, avoiding pricier wooden alternatives unless you need heavy-duty storage.
How do sewing supply organizers improve efficiency in my workspace?
The top organizers categorize supplies into labeled compartments, cutting down search time from minutes to seconds during projects. Portable rolling carts or over-door hangers maximize limited space, letting you grab pins or scissors instantly without clutter buildup. Users often report finishing seams faster once everything has a dedicated spot, especially in multi-step tasks like quilting.
Are there safety features to consider in sewing supply organizers?
Opt for designs with secure lids or magnetic closures to prevent sharp tools like needles and rotary cutters from spilling, reducing injury risks around kids or pets. Some include padded sections for delicate items, avoiding damage during transport. If you sew in a shared space, choose lockable or child-proof models for added peace of mind without complicating daily use.
How easy is installation for wall-mounted sewing supply organizers?
Most wall options use simple adhesive hooks or screws that install in under 10 minutes with basic tools like a drill or level. Over-the-door versions require no hardware at all, making them ideal for renters or quick setups. Always check weight limits to ensure stability, as heavier fabric loads can pull lightweight mounts loose over time.
What types of sewing supply organizers work best for different sewing spaces?
For tiny apartments, slim desktop trays or foldable cases keep essentials handy without overwhelming counters. Larger studios benefit from multi-tier carts on wheels for easy mobility between stations. Compare stackable bins for expandability versus all-in-one bags for travel; the right fit depends on your project's scale and how often you rearrange.
Conclusion
Choosing the best sewing supply organizers comes down to your storage needs, portability preferences, and durability requirements. We've highlighted options that excel in organization, ease of use, and long-term reliability, helping you keep your workspace tidy and inspiring.
With these insights, you're equipped to make a confident decision that fits your sewing routine perfectly. Take a moment to match the features to your setup, and pick the one that feels right—you'll wonder how you managed without it.